前言
STF(Smartphone Test Farm)是一个Web应用程序,用于从浏览器中远程调试智能手机,智能手表和其他小工具。
openstf GitHub开源地址
功能:
- 支持的系统:Android
版本限制:2.3.3 (SDK 版本 10) to 9.0 (SDK 版本 28)
Android Wear 5.1(由于权限问题不支持5.0)
Fire OS, CyanogenMod,基于Android的发行版
当前任何功能都不需要root
- 从浏览器远程控制任何设备
- 管理所有挂机设备
环境搭建
需要使用到的工具或环境
- Node.js >= 6.9 (首选最新稳定版)
- ADB
- RethinkDB >= 2.2
- GraphicsMagick (用来调整屏幕截图的大小)
- ZeroMQ 自带安装,无需另行安装
- Protocol Buffers 自带安装,无需另行安装
- yasm 自带安装,无需另行安装 (为了编译 libjpeg-turbo)
- pkg-config 安装后Node.js就可以找到自带库
通过brew安装依赖
在终端使用输入命令安装所需的依赖:
1
| brew install rethinkdb graphicsmagick zeromq protobuf yasm pkg-config
|
若提示找不到brew,则需要先安装brew,参照:
Homebrew
Node.js安装
Node.js版本强烈建议选择8.X 版本,如果是安装了最新10.X及以上版本后续安装stf过程中可能会出现报错,参考Mac终端安装指定版本node
1
2
3
4
| node -v
v8.16.0
npm -v
6.4.1
|
由于网络限制,为了保障后续安装顺利,这里我们建议增加 npm淘宝镜像。
1
| npm install -g cnpm --registry=https://registry.npm.taobao.org
|
adb安装
使用brew安装,命令如下:
1
| brew cask install android-platform-tools
|
安装完成后,连上Android 设备(开启usb-debug)输入命令adb –version查看是否安装成功。
1
2
3
4
| adb --version
Android Debug Bridge version 1.0.41
Version 29.0.1-5644136
Installed as /usr/local/bin/adb
|
stf安装
这里我们使用上面安装的cnpm来安装
安装完成后使用命令stf doctor检查相关依赖是否安装正常。
1
2
3
4
5
6
7
8
9
10
| stfs-Mac-mini:~ stf$ stf doctor
2019-08-01T05:17:19.556Z INF/cli:doctor 58578 [*] OS Arch: x64
2019-08-01T05:17:19.558Z INF/cli:doctor 58578 [*] OS Platform: darwin
2019-08-01T05:17:19.558Z INF/cli:doctor 58578 [*] OS Platform: 18.0.0
2019-08-01T05:17:19.558Z INF/cli:doctor 58578 [*] Using Node 8.16.0
2019-08-01T05:17:19.572Z INF/cli:doctor 58578 [*] Using ZeroMQ 4.3.2
2019-08-01T05:17:19.581Z INF/cli:doctor 58578 [*] Using GraphicsMagick 1.3.33
2019-08-01T05:17:19.582Z INF/cli:doctor 58578 [*] Using ADB 1.0.41
2019-08-01T05:17:19.587Z INF/cli:doctor 58578 [*] Using RethinkDB 2.3.6
2019-08-01T05:17:19.589Z INF/cli:doctor 58578 [*] Using ProtoBuf 3.7.1
|
如果安装过程中出现如下错误,说明Node版本不兼容。
1
2
3
4
5
6
7
8
9
10
11
12
13
14
15
16
17
18
19
20
21
| make: *** [Release/obj.target/bufferutil/src/bufferutil.o] Error 1
gyp ERR! build error
gyp ERR! stack Error: `make` failed with exit code: 2
gyp ERR! stack at ChildProcess.onExit (/usr/local/lib/node_modules/cnpm/node_modules/node-gyp/lib/build.js:262:23)
gyp ERR! stack at ChildProcess.emit (events.js:198:13)
gyp ERR! stack at Process.ChildProcess._handle.onexit (internal/child_process.js:248:12)
gyp ERR! System Darwin 18.0.0
gyp ERR! command "/usr/local/bin/node" "/usr/local/lib/node_modules/cnpm/node_modules/npminstall/node-gyp-bin/node-gyp.js" "rebuild"
gyp ERR! cwd /usr/local/lib/node_modules/stf/node_modules/_bufferutil@1.3.0@bufferutil
gyp ERR! node -v v10.16.1
gyp ERR! node-gyp -v v3.8.0
gyp ERR! not ok
[npminstall:runscript:error] bufferutil@^1.2.1 has binding.gyp file, run "node-gyp rebuild" error: RunScriptError: Run "sh -c node-gyp rebuild" error, exit code 1
Install fail! RunScriptError: Run "sh -c node-gyp rebuild" error, exit code 1
RunScriptError: Run "sh -c node-gyp rebuild" error, exit code 1
at ChildProcess.proc.on.code (/usr/local/lib/node_modules/cnpm/node_modules/runscript/index.js:96:21)
at ChildProcess.emit (events.js:198:13)
at maybeClose (internal/child_process.js:982:16)
at Process.ChildProcess._handle.onexit (internal/child_process.js:259:5)
npminstall version: 3.22.1
npminstall args: /usr/local/bin/node /usr/local/lib/node_modules/cnpm/node_modules/npminstall/bin/install.js --fix-bug-versions --china --userconfig=/Users/stf/.cnpmrc --disturl=https://npm.taobao.org/mirrors/node --registry=https://r.npm.taobao.org -g stf --unsafe-perm
|
解决方案:使用如下命令卸载Node,然后安装8.X版本的Node。
启动服务
启动rethinkdb
stf使用的是RethinkDB数据库,所以在启动stf前需要先启动RethinkDB,启动RethinkDB很简单,只需要执行以下命令:
因为默认端口是8080,我已经有其他服务被占用,所以另开一个端口
1
| rethinkdb --bind all --cache-size 8192 --http-port 9090
|
–cache-size指定缓存大小
–http-port 指定端口
启动stf
另开一个终端,执行
如果想让其他机器连接到stf需要加上 –public-ip
1
| stf local --public-ip <本机的IP地址>
|
最后输入http://localhost:7100或者 http://<ip地址>:7100即可访问stf地址,界面如下:
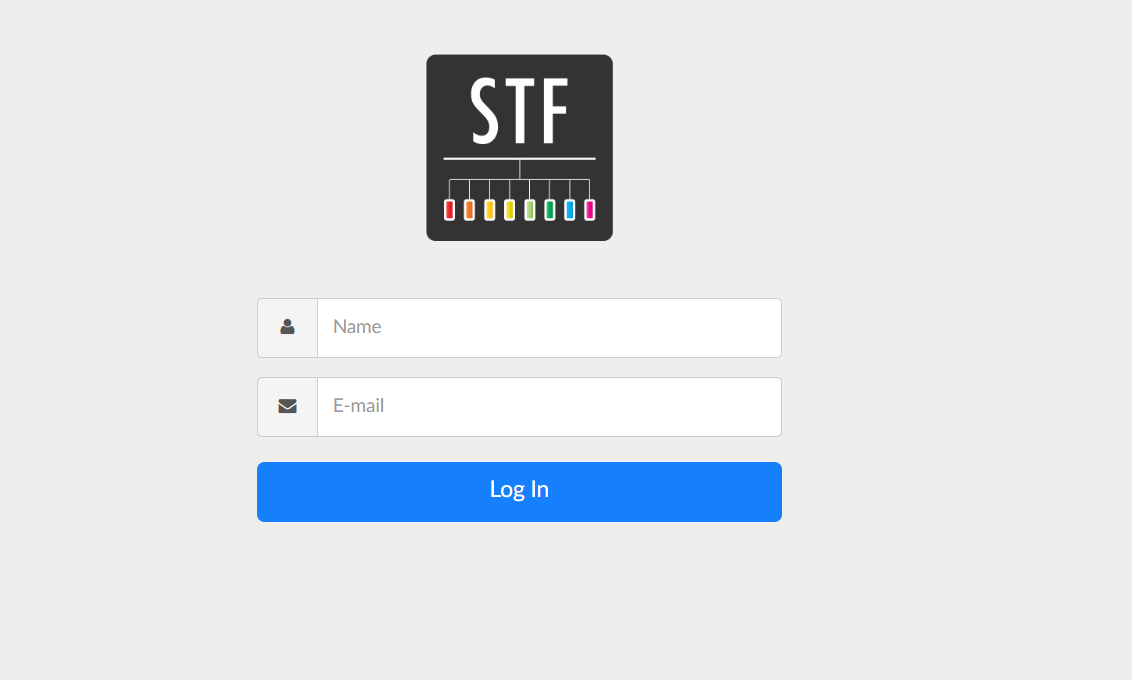
输入用户名和邮箱即可登录,用户名和邮箱可以随便填写。
USB链接Android设备,开发者模式打开USB调试,就可以看到设备了